Custom Headlight Build
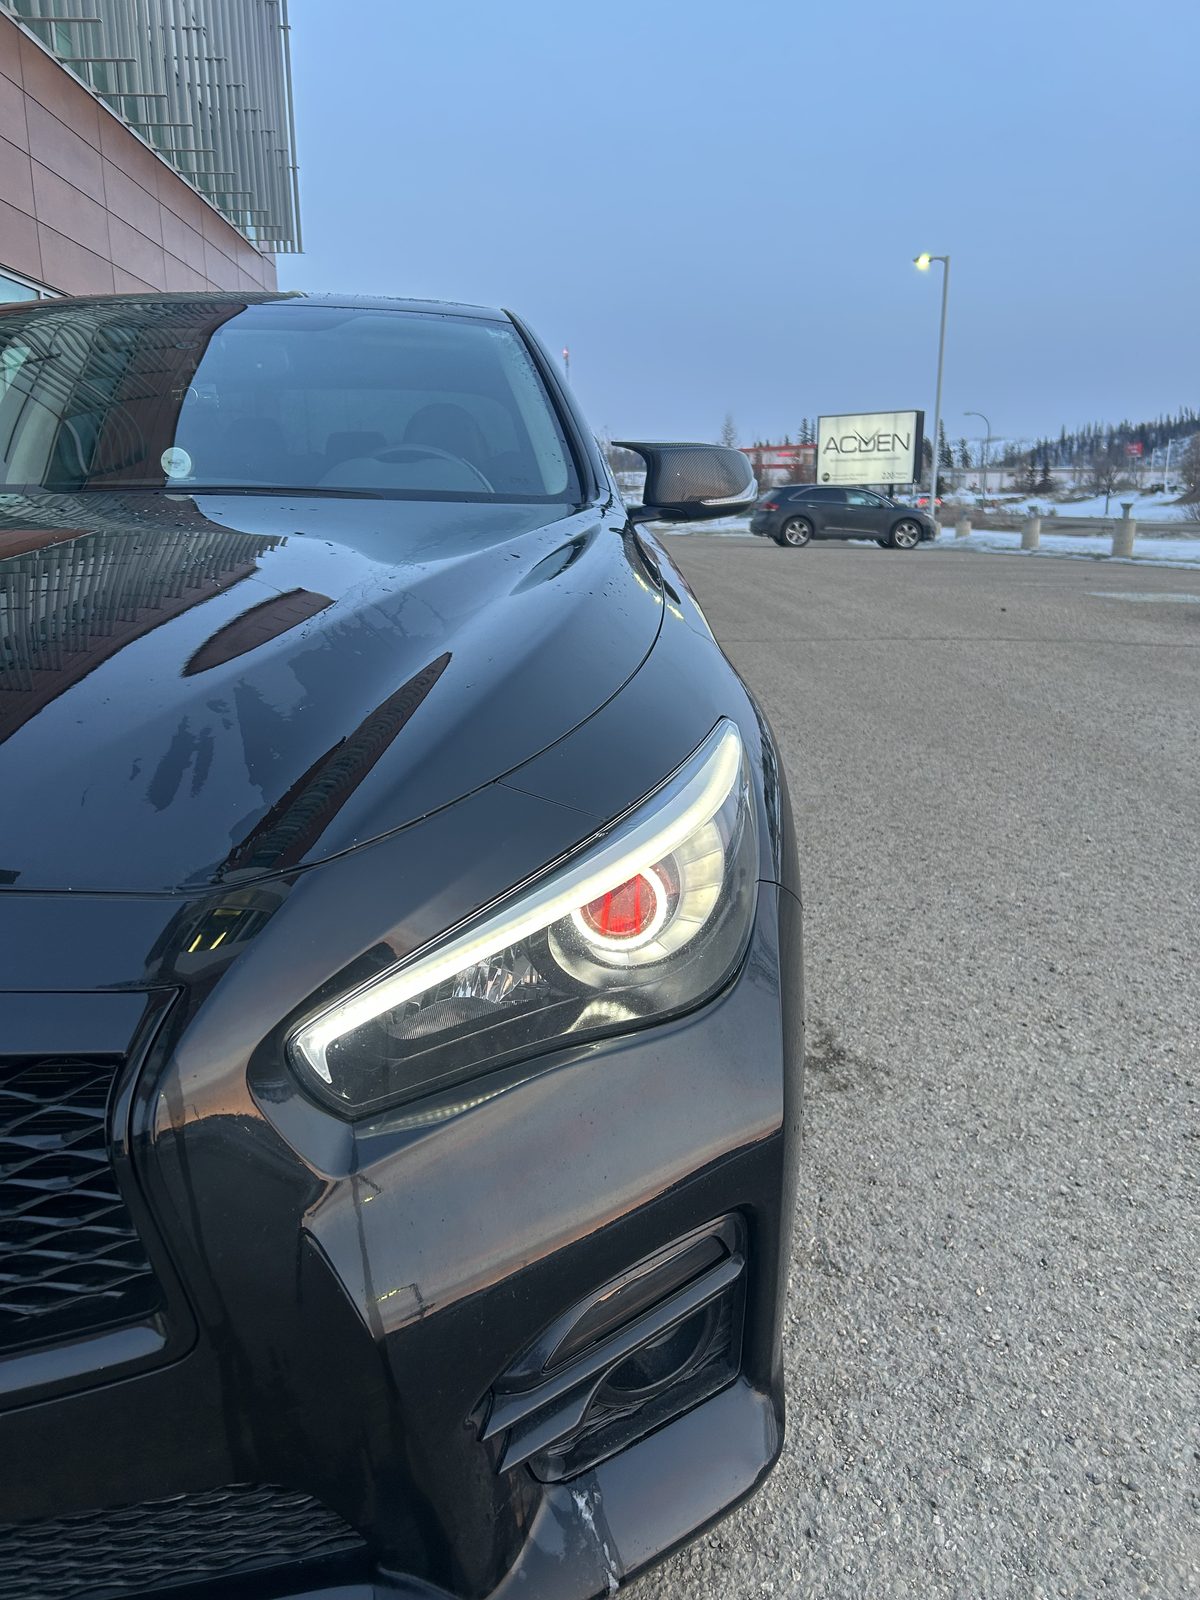
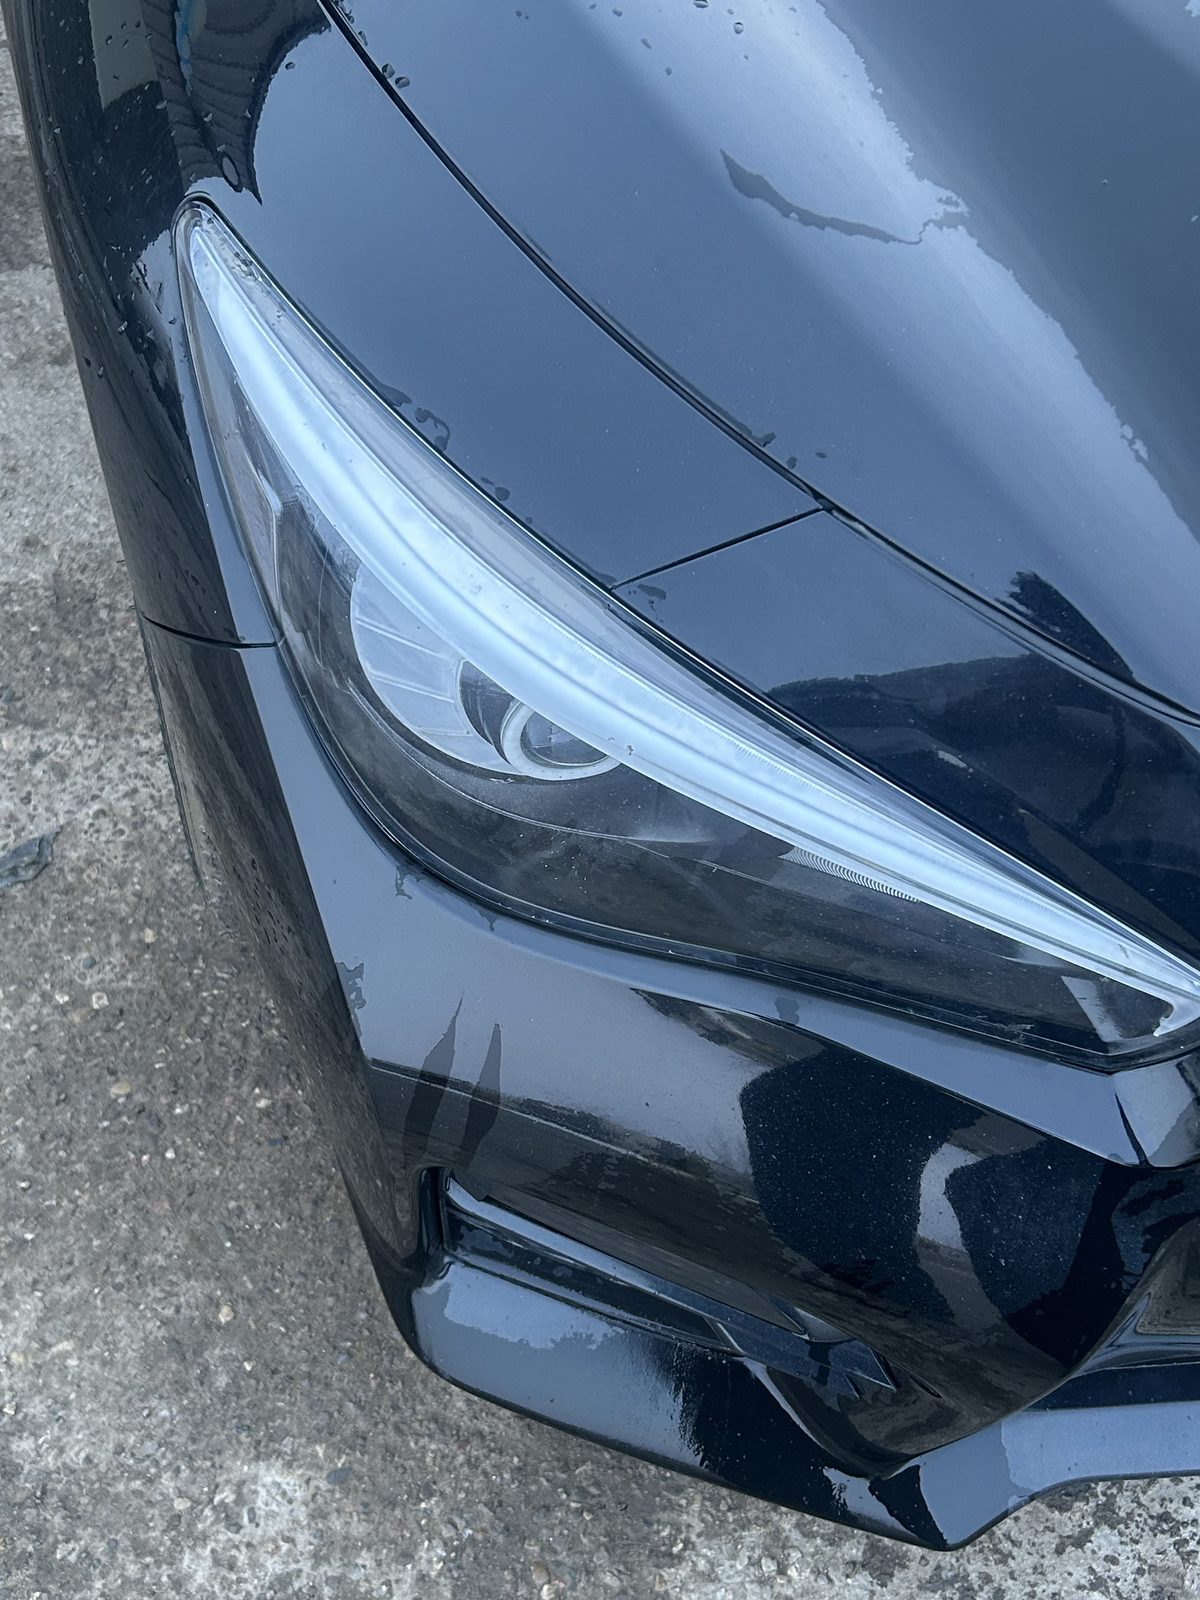
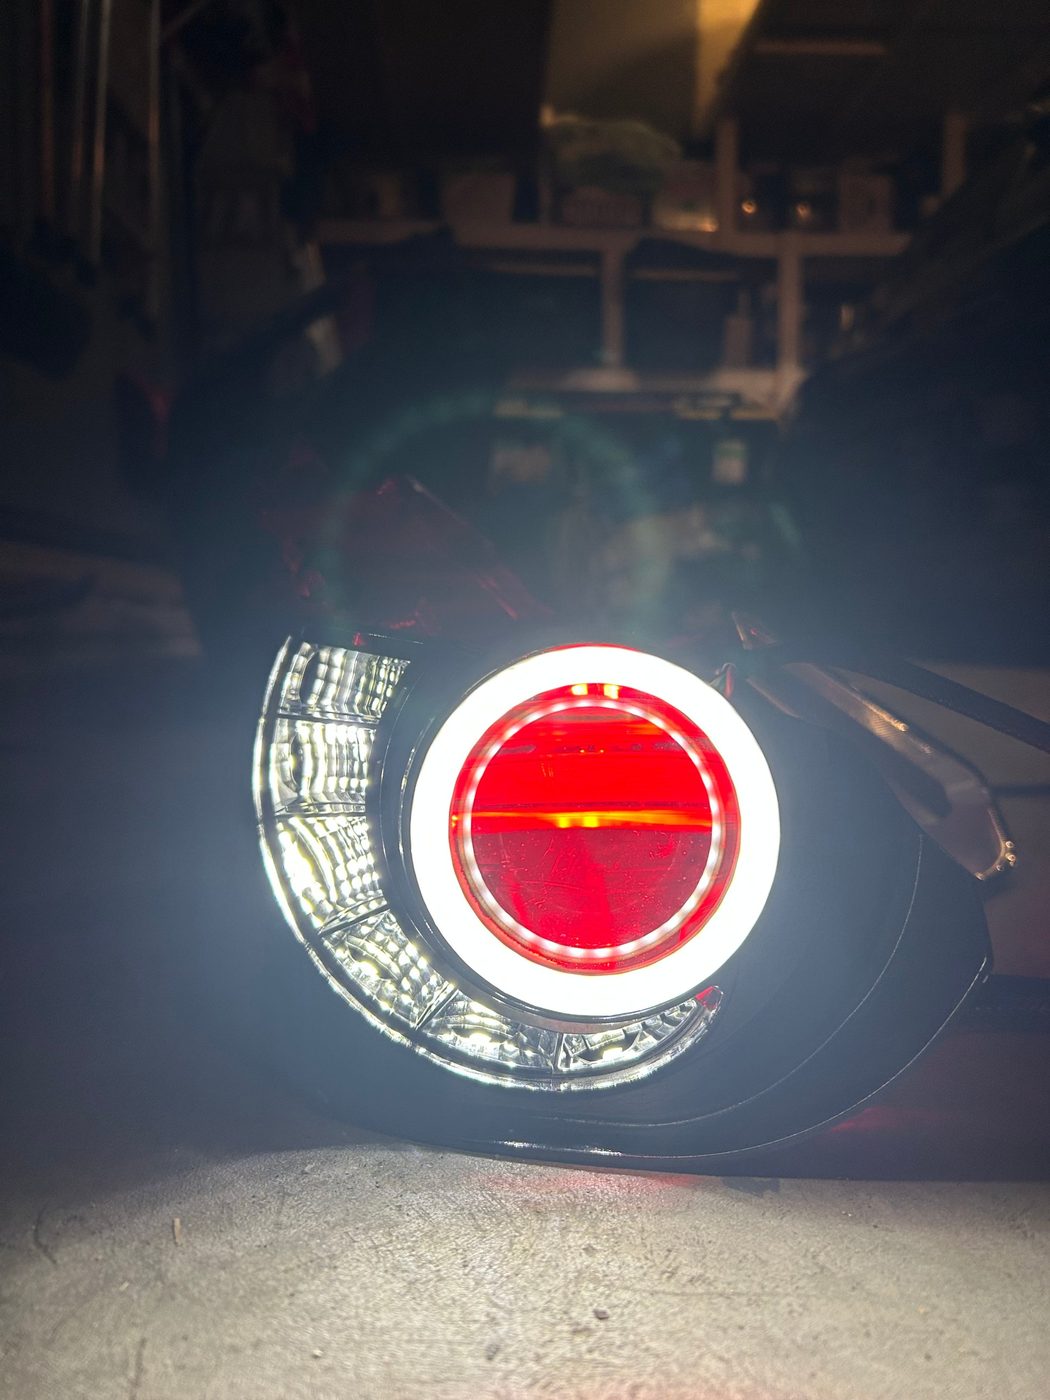
App-controlled RGB lighting built into the stock headlights of my Infiniti Q50.
overview
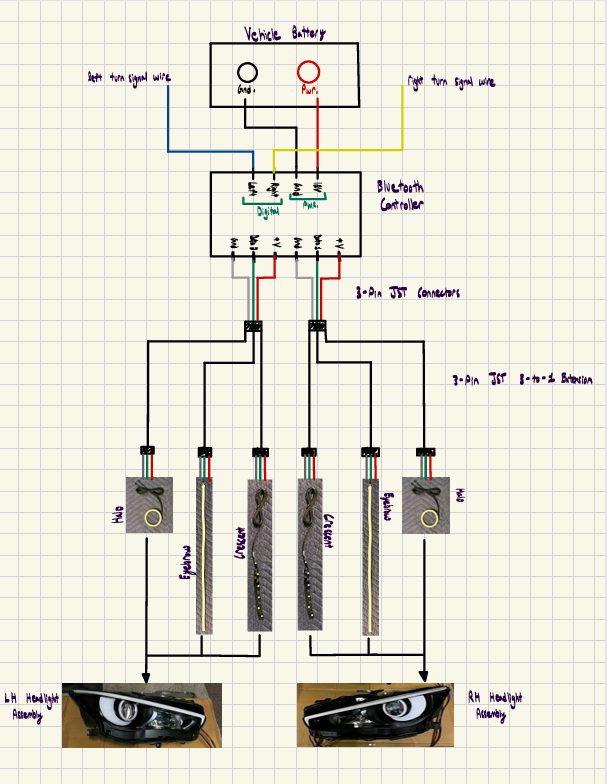
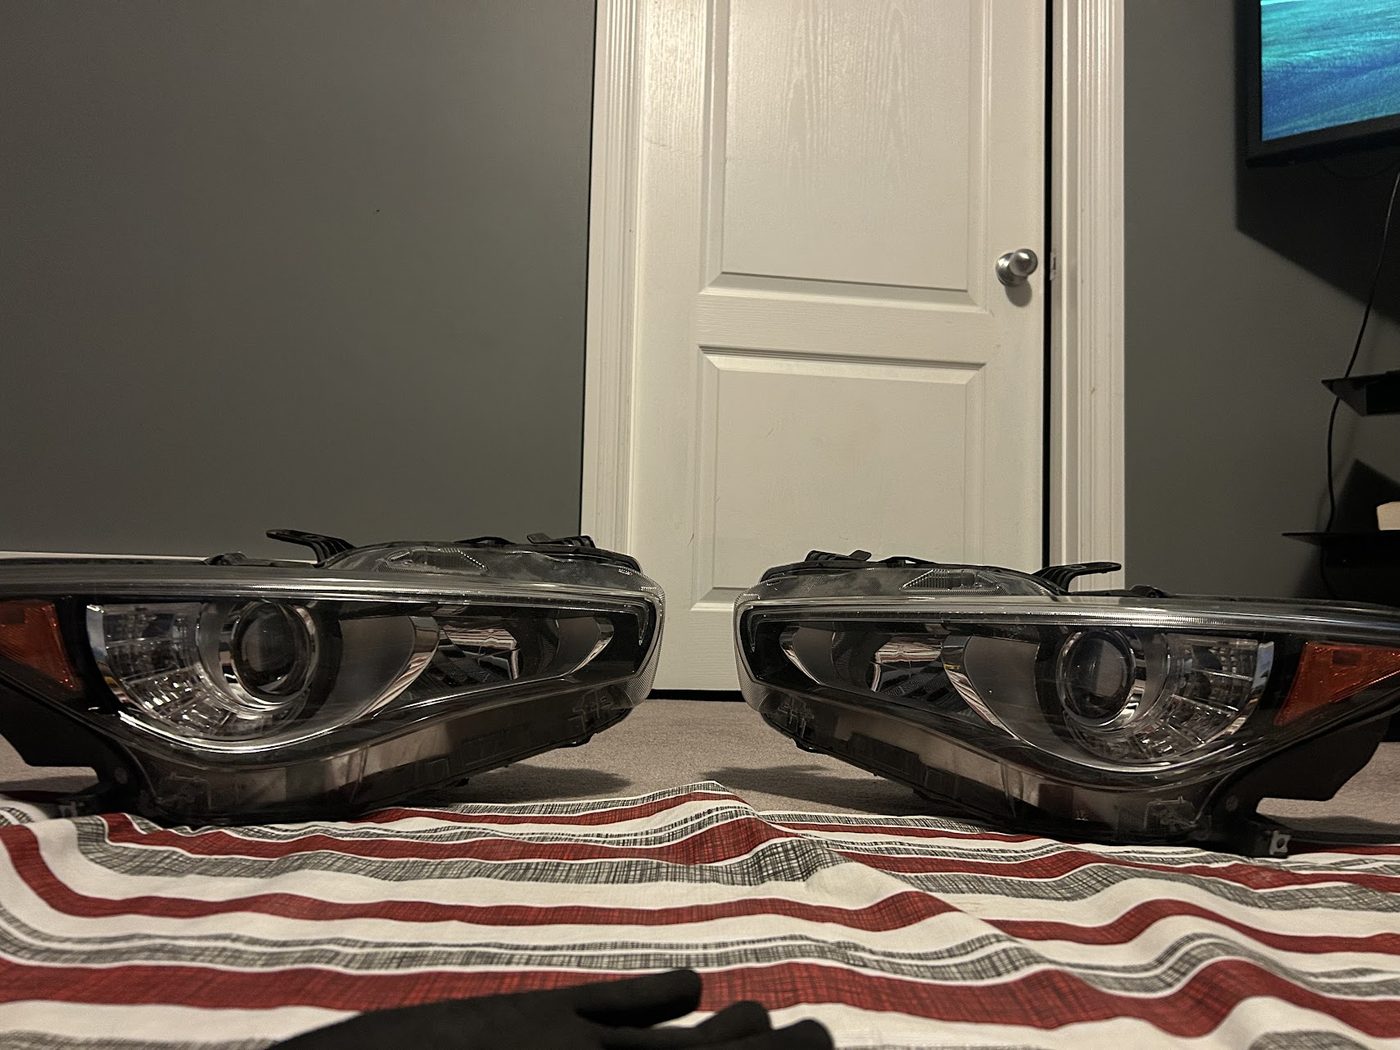
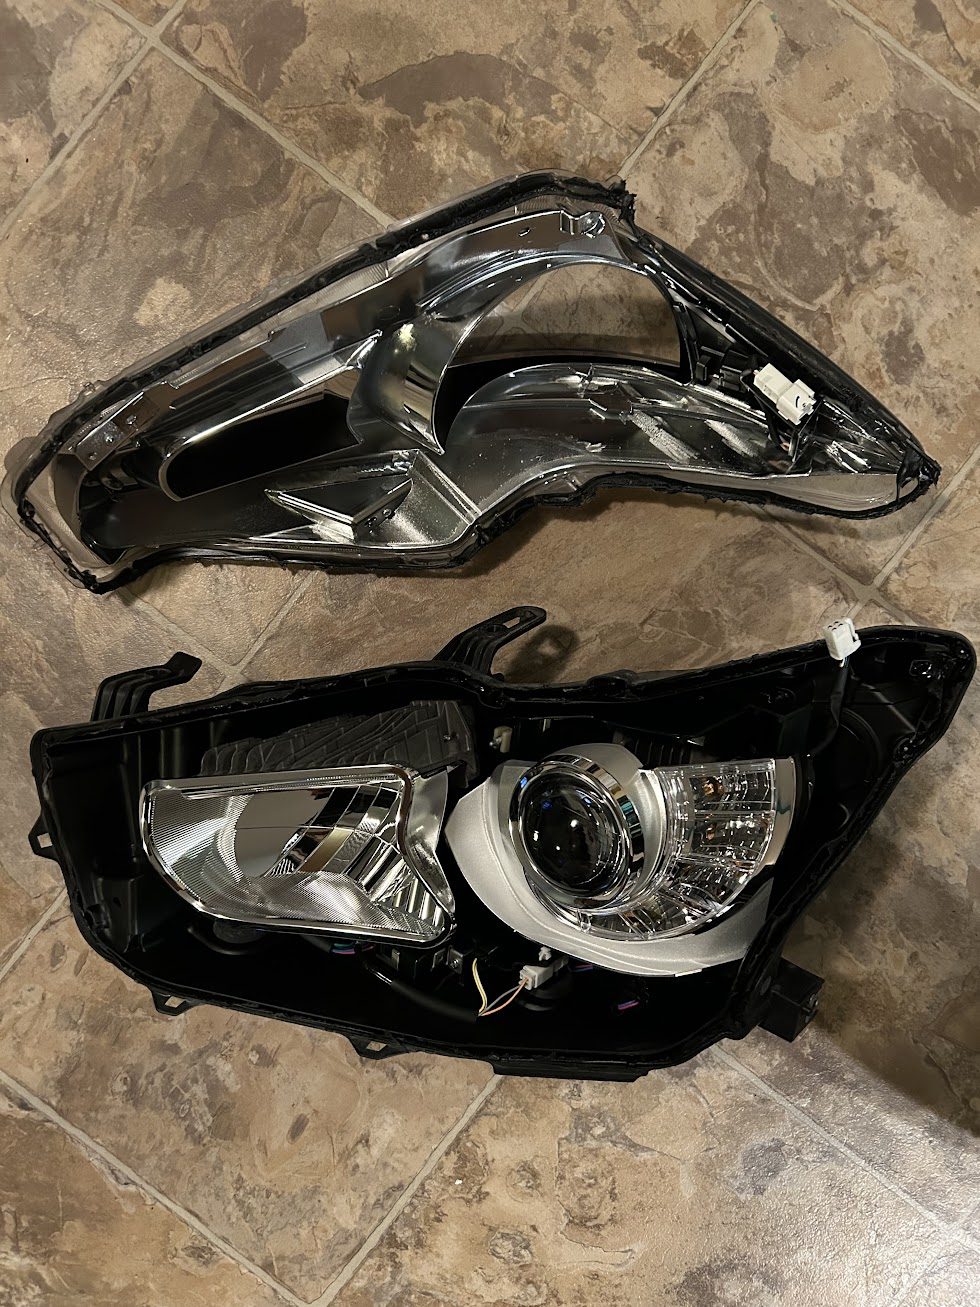
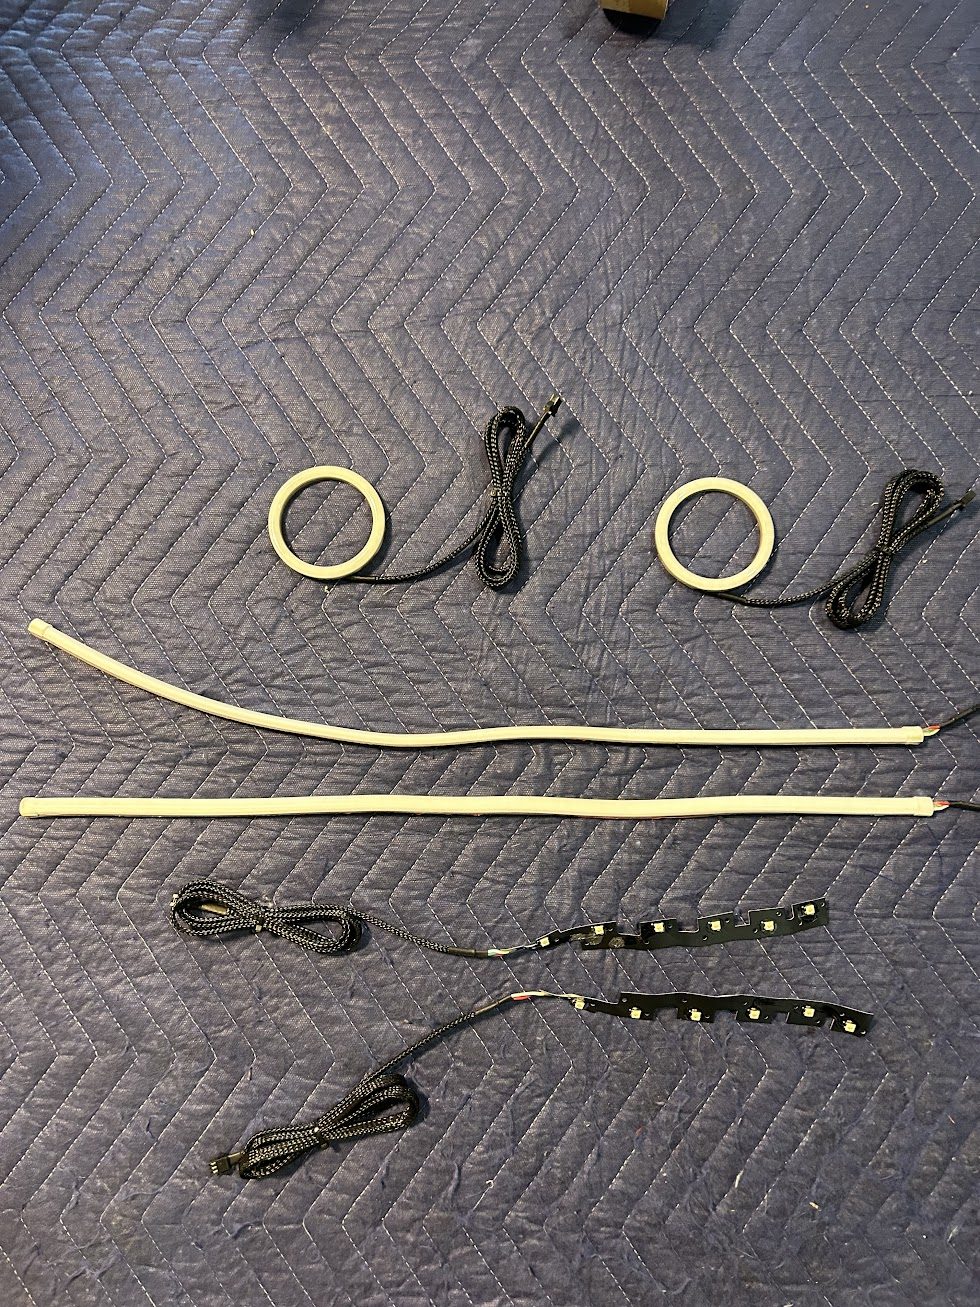
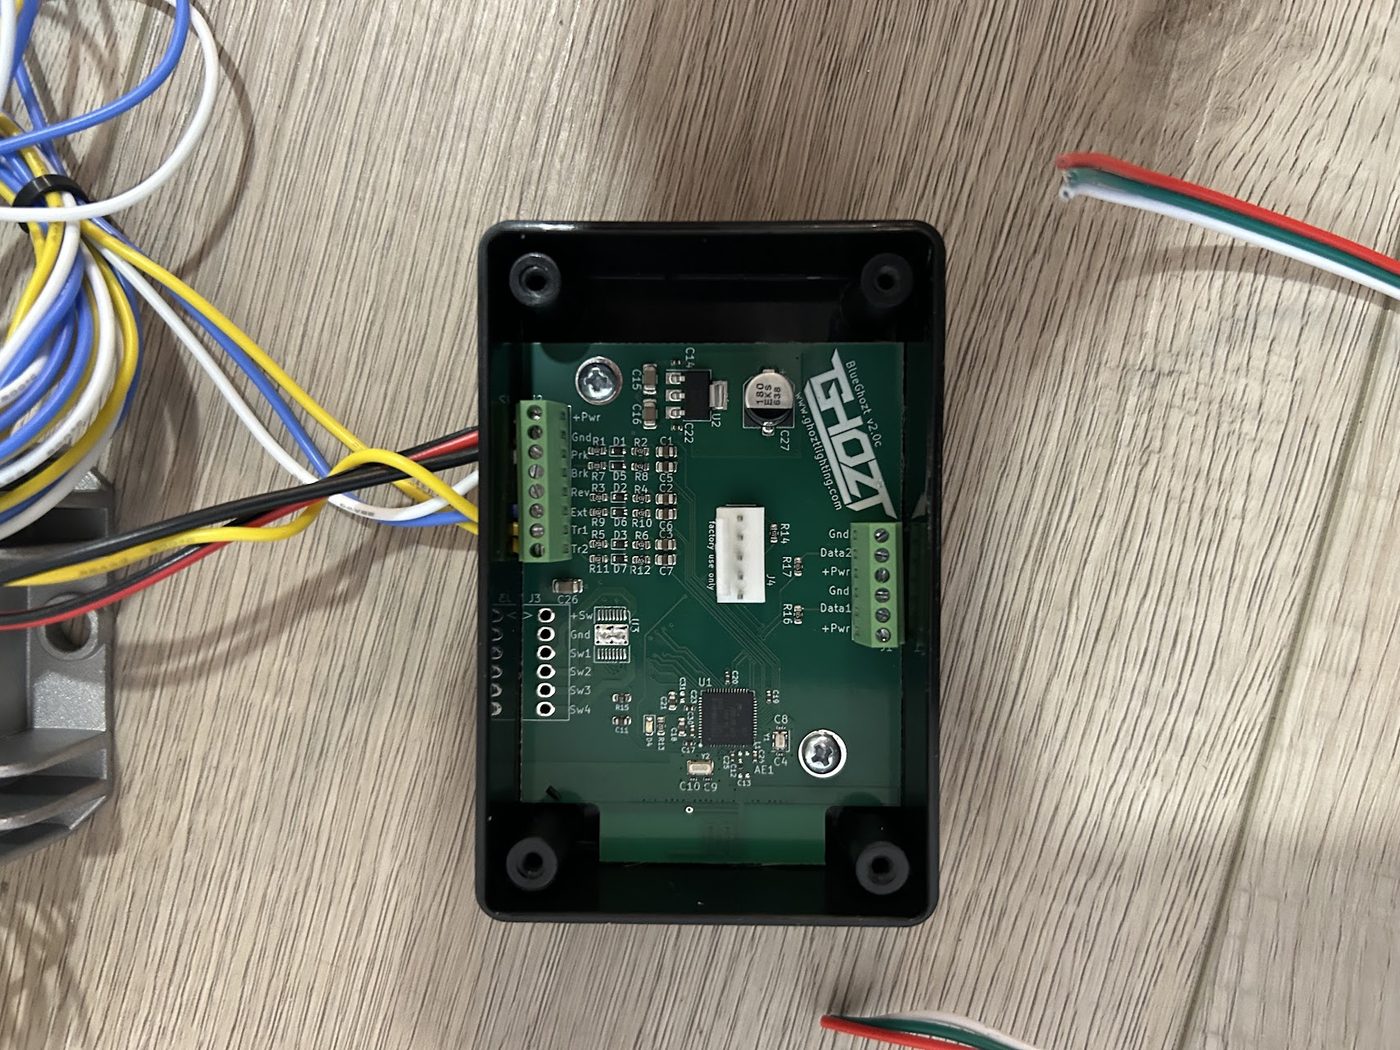
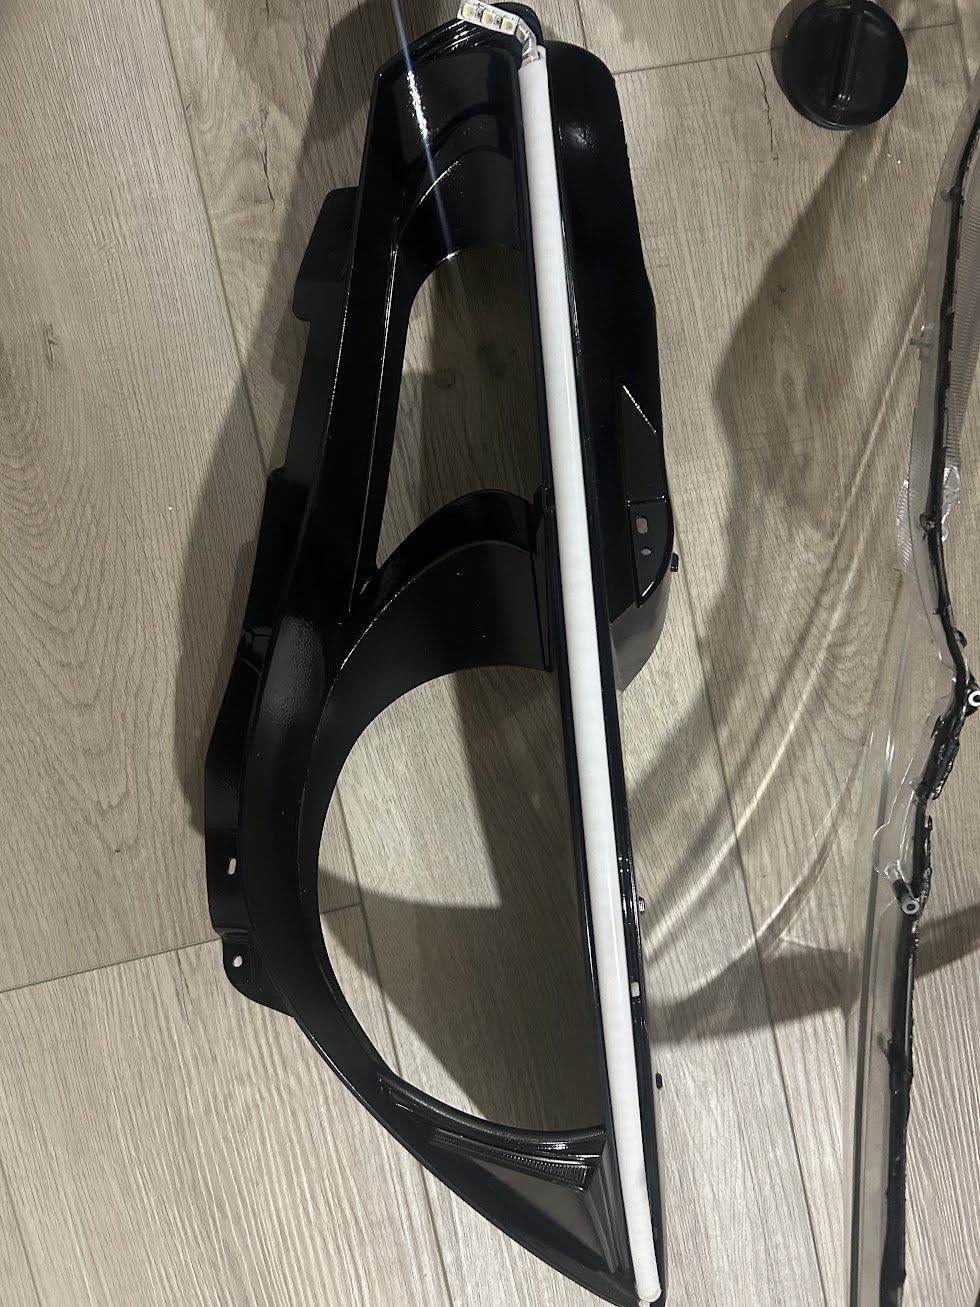
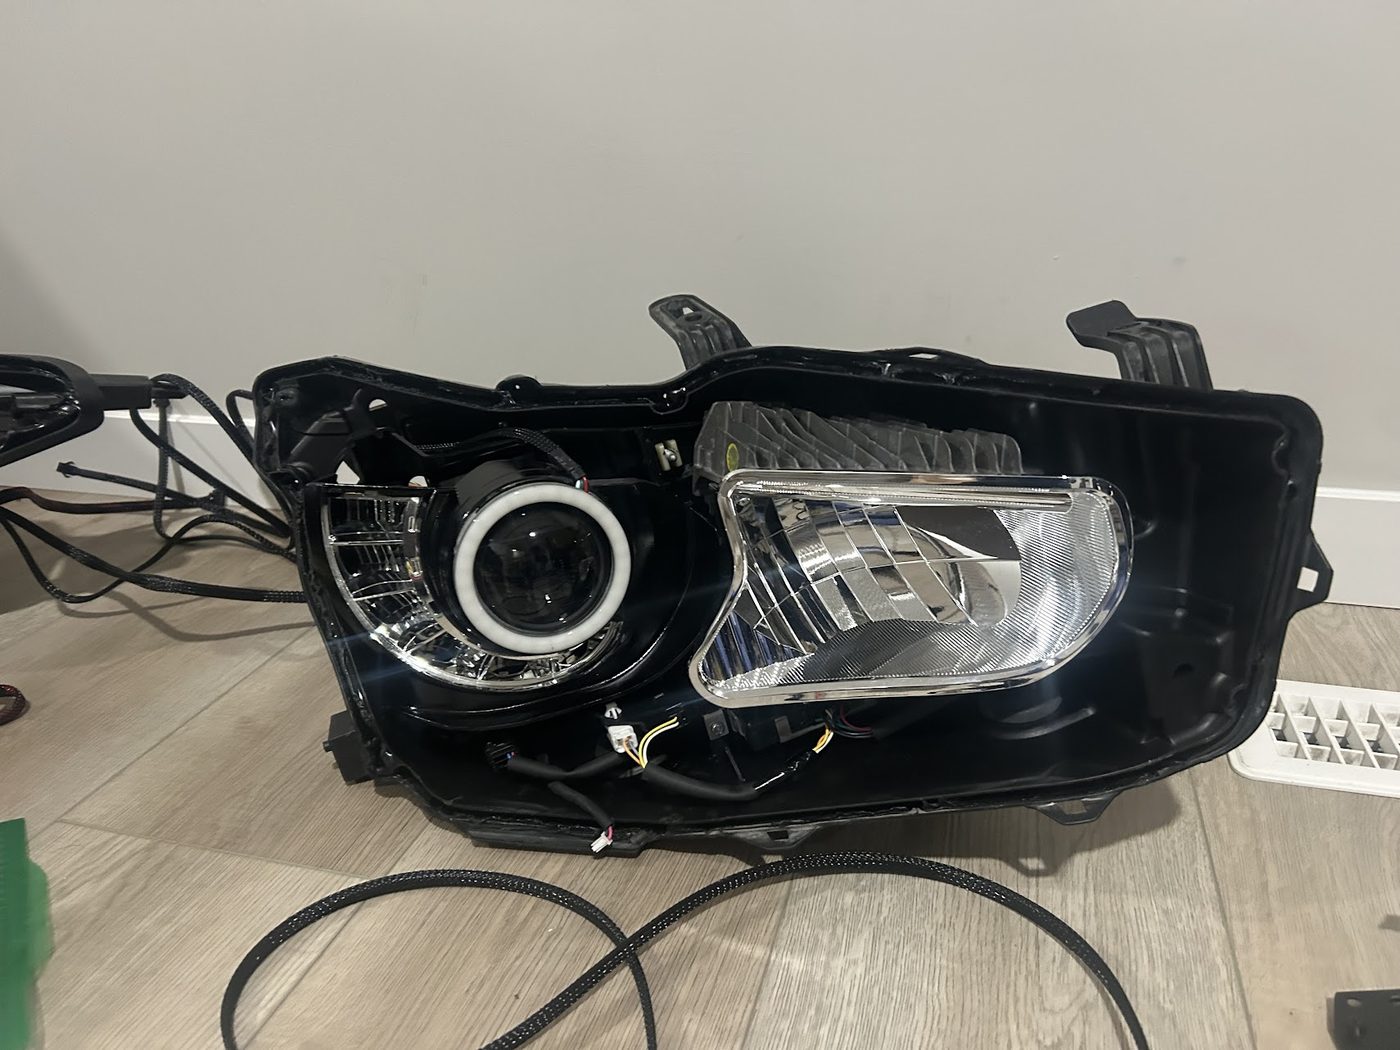
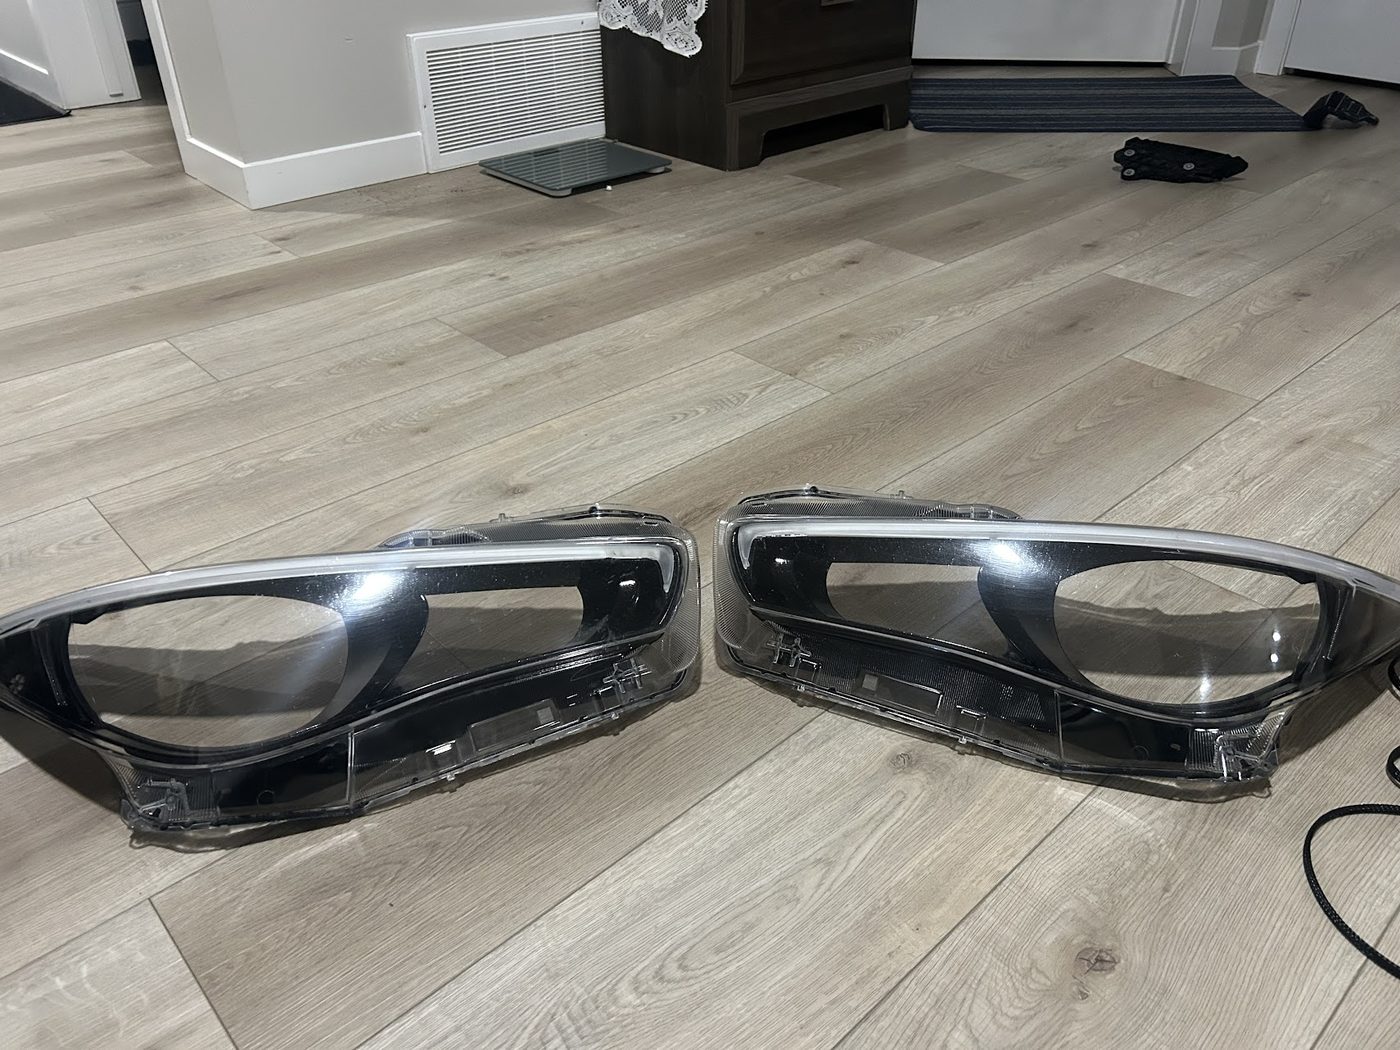
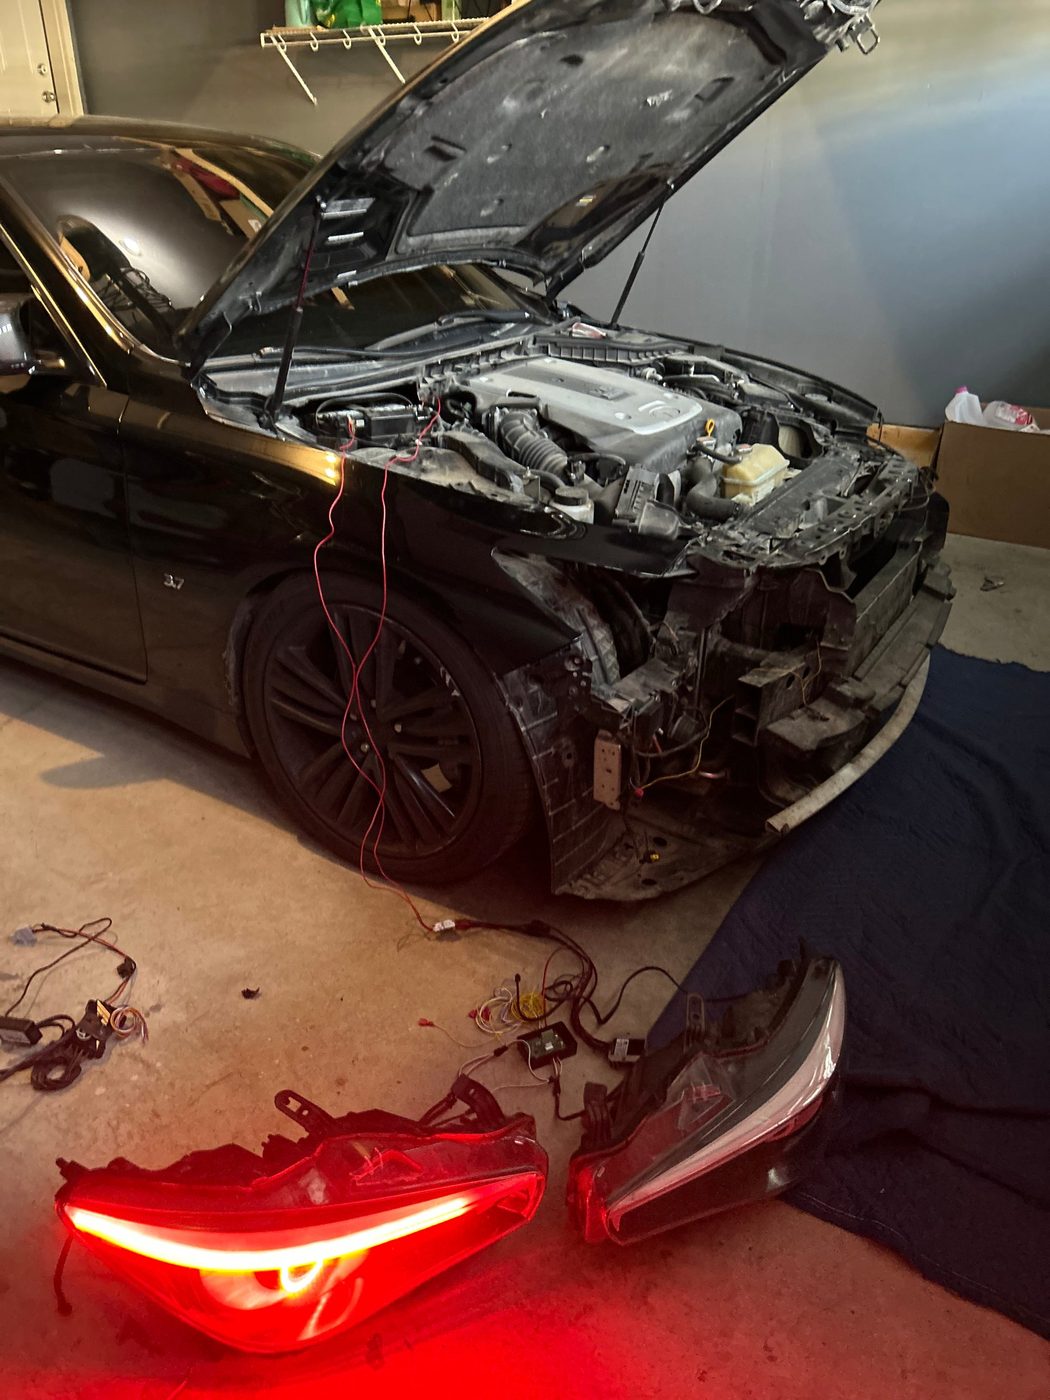
This project was built to give my Infiniti Q50's headlights a unique lighting setup. I removed the front bumper to take out the factory headlights, heated the housings to soften the butyl sealant, and opened them up to strip out the original lighting. Inside each housing, I installed RGBW sequential LED strips, then soldered a BlueGhozt Bluetooth controller into the car's power, ground, and turn signal lines, with voltage and current regulation and a fuse on every connection for protection. After resealing and reinstalling the housings, I set up the lighting colors, patterns, and animations through the BlueGhozt app. The finished headlights keep all of their factory functions, including the turn signals, automatic on and off, and high and low beams.
Design decisions and challenges
- Fit every new component inside the stock housings, so the car has no exterior modifications.
- Ran every component through voltage and current regulators, added a dedicated driver for the 12V components, and fused every connection individually. This keeps each component supplied with stable power and ensures a fault in the new lighting can't damage the car's own wiring.
- Integrated the new lighting through the car's existing 8-pin headlight connector, so the turn signals, welcome animation, automatic on and off, and high and low beams still work the way they did from the factory.
- Opened and resealed the housings carefully, since the lenses were held on with butyl sealant that had to be heated considerably to soften, and a poor reseal would have let moisture into the headlights.
- Routed every new wire through the engine bay away from hot components and secured it in place to prevent heat damage or a fire risk.
What I learned
This project taught me the electrical side of a car and how its different connections and circuits work together. It was a very time-consuming build that took me through every stage, from removing the front bumper, to wiring the new components, to integrating them with the car's existing systems.
Build progress
Demo videos
Wiring